

Content Landing Page
Note
Content landing pages powered by Hawksearch are used to display multiple types of content such as images, rich text content, and Hawksearch widgets. Content pages also provide an added choice to display products, along with the content instead of only listing products as done in traditional Product listing landing pages.
A pre-determined layout needs to be in place for placing the content. These layouts can be created and managed on Hawksearch dashboard based on the steps needed to create the layouts in here - Landing Page Layout
Creating a Content Landing Page
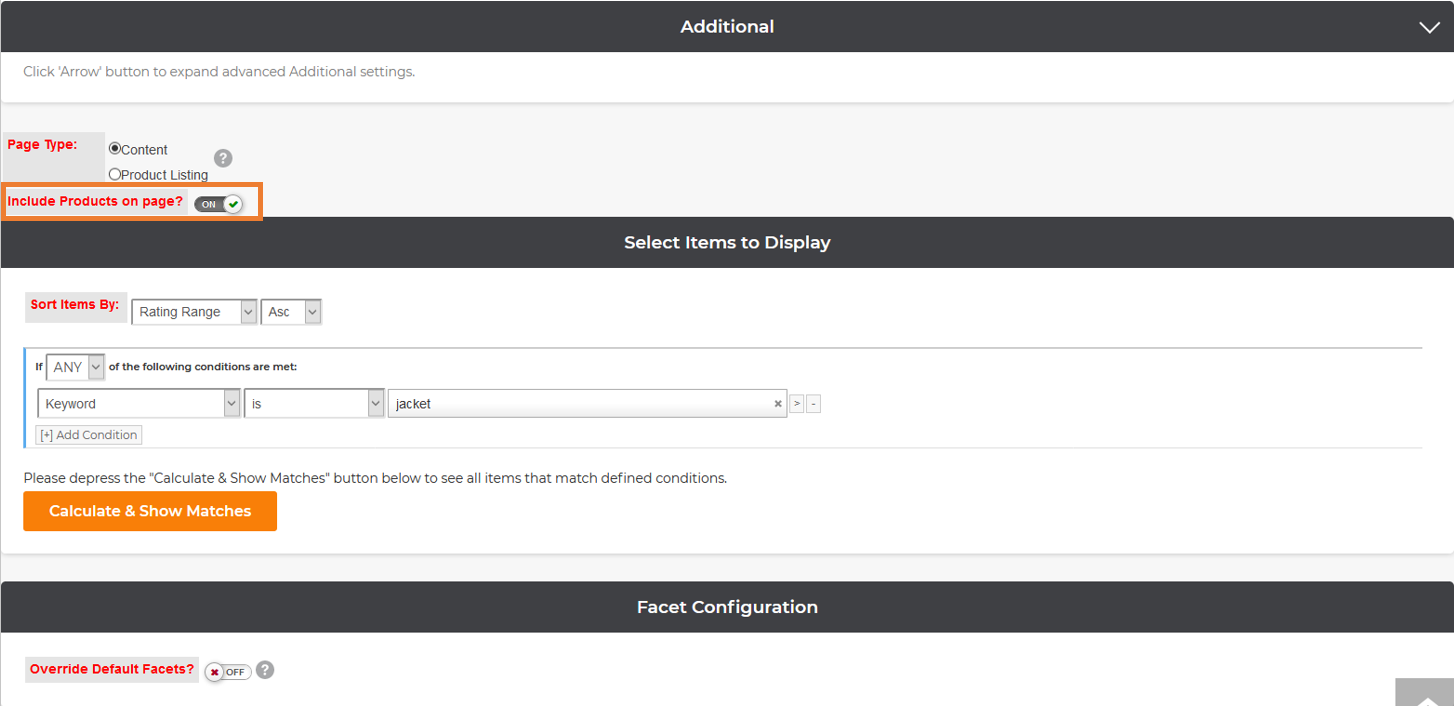
When creating a Content Landing Page, you have the option to list products and/or facets in addition to the content. When creating or editing a content landing page, the flag for products to appear on the page will allow you to specify the products to include on a page. These products will drive what facets can be displayed on the page. The facets can also be overridden just as they can be on a product listing landing page.
When the page is requested from the front-end, all components will be returned (content, facets and products). The front-end can hold the logic to drive what pieces are displayed. For example, upon first rendering the page, the requirement may be to see the facets on the left and content in the main section; then when a facet is selected, the content in the main section is replaced by a list of products.
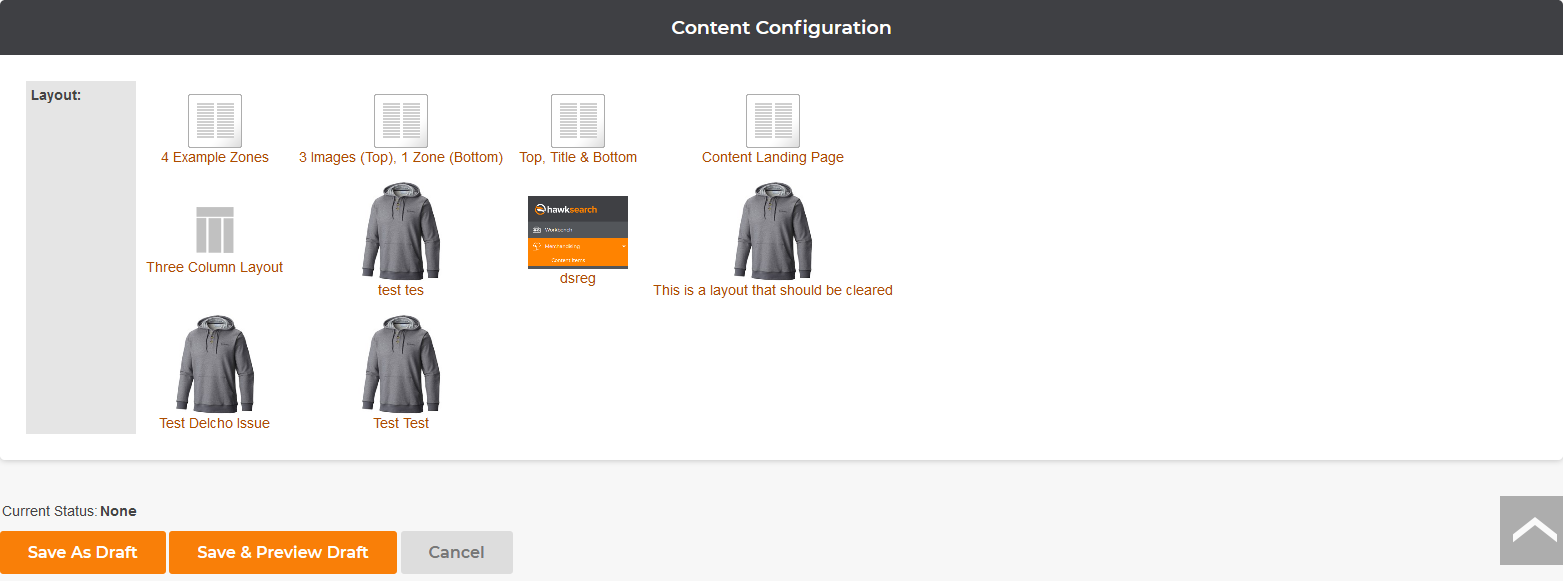
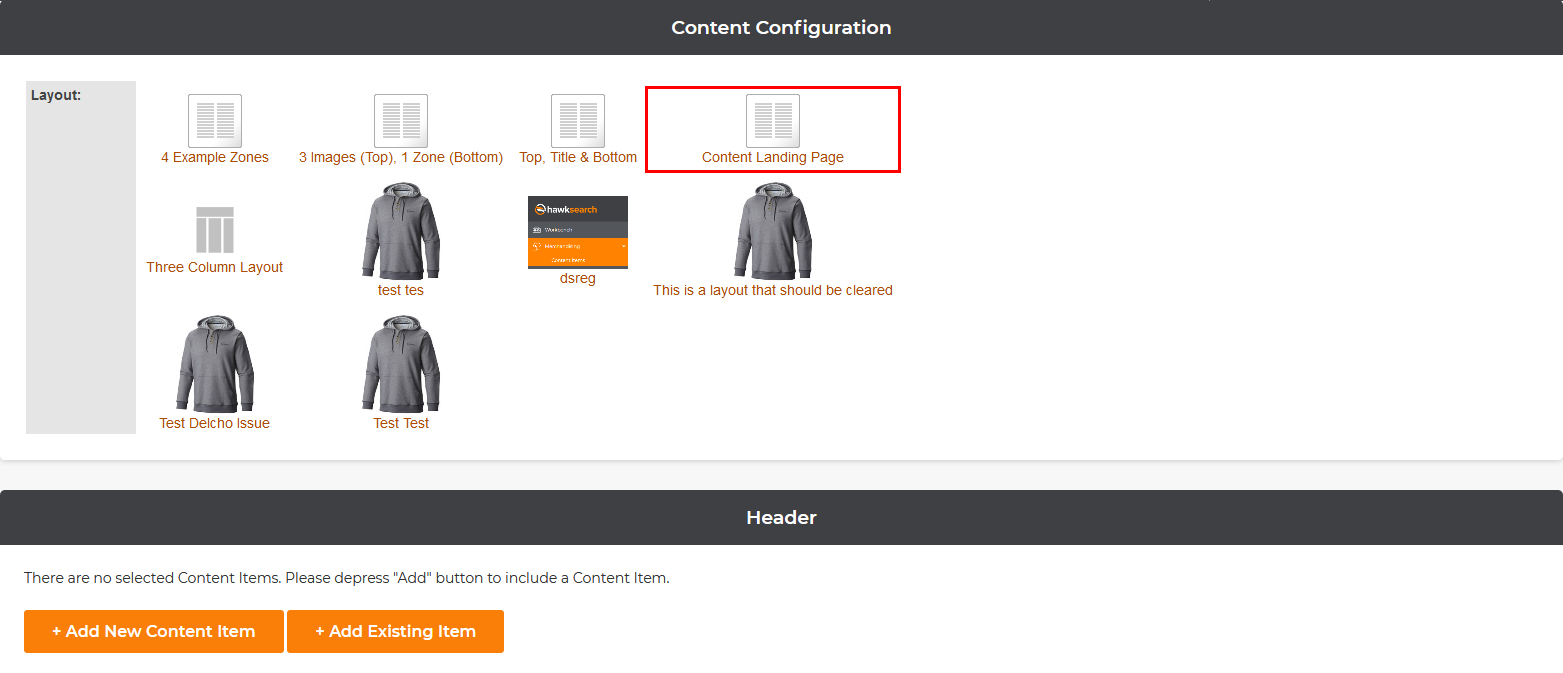
Landing pages typically come with 5 preloaded layouts:
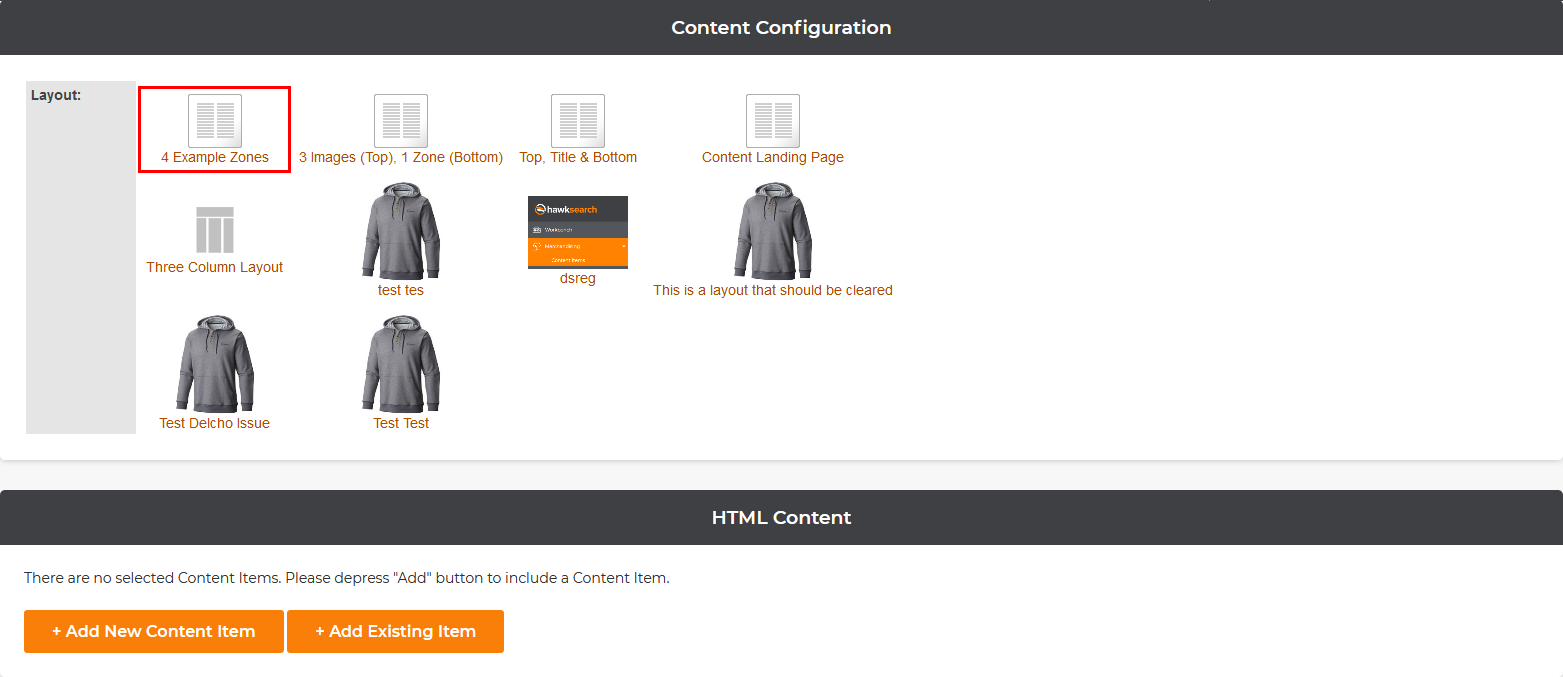
- 4 Example Zones
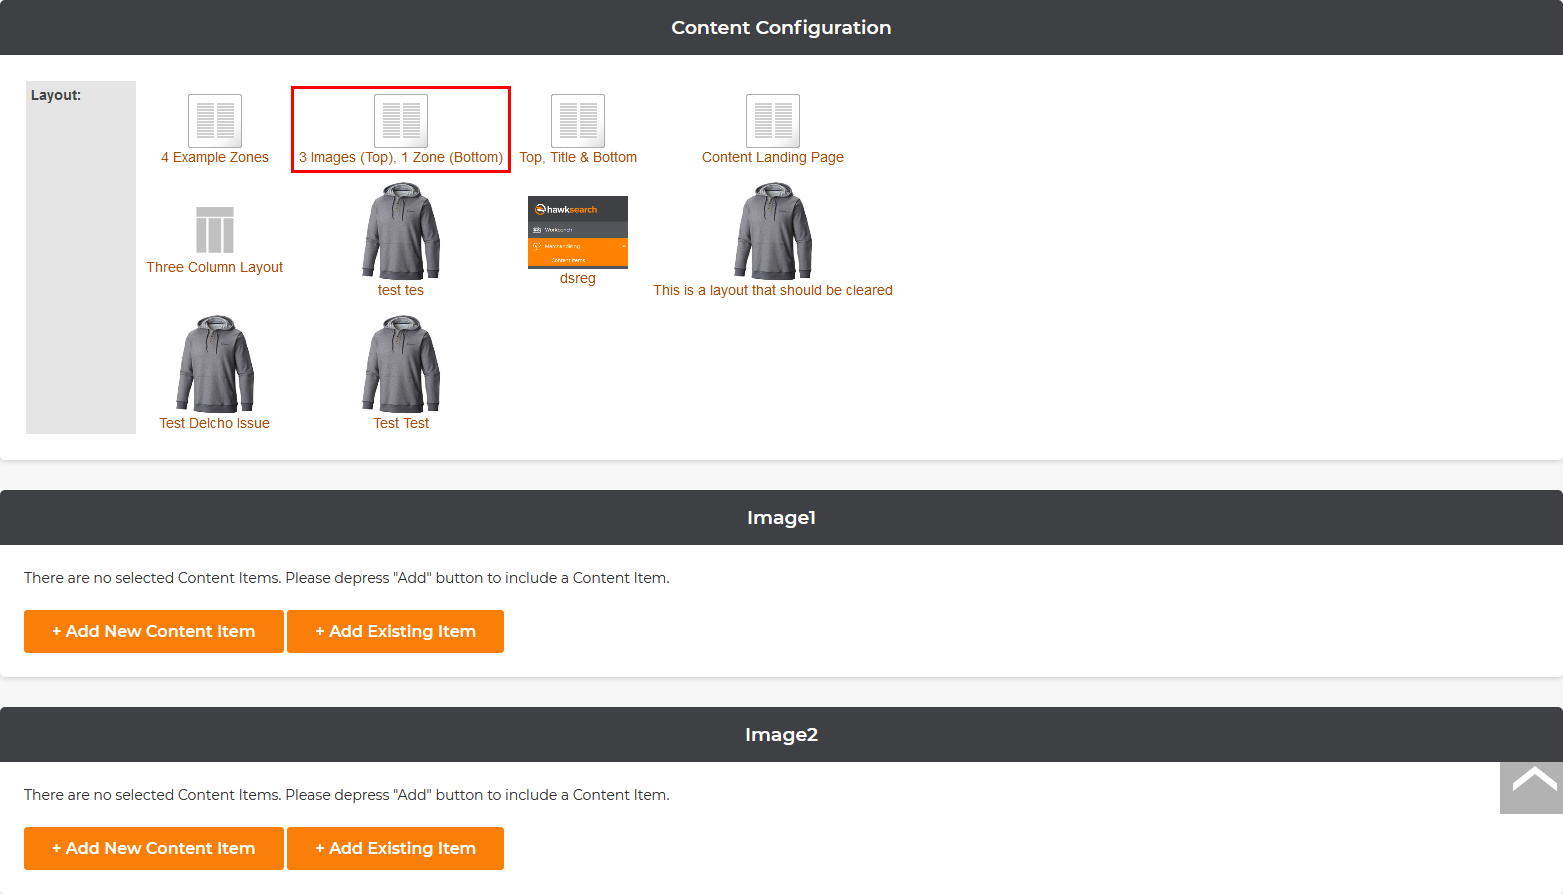
- 3 Images (Top), 1 Zone (Bottome)
- Top, Title & Bottom
- Content Landing Page
- Three Column Layout
When creating a Content Landing Page, you will have several choices for layouts for the Landing Page. It is not necessary to use all the sections but you will have 3 choices for each section as to what to display.
- Image - lets you upload an image for the Landing Page
- Custom HTML - lets you input HTML text or plain text
- Widget - lets you choose from widgets that you have created already
This provides the ability to create simple, content driven pages using banner images or category images. Organizations with developer-savvy resources can coordinate with their Hawksearch administrators to create their own layout templates.
Content Configuration
Three Images, One Zone

4 Example Zones
Content Landing Page
Three Column Layout

Top, Title, Bottom

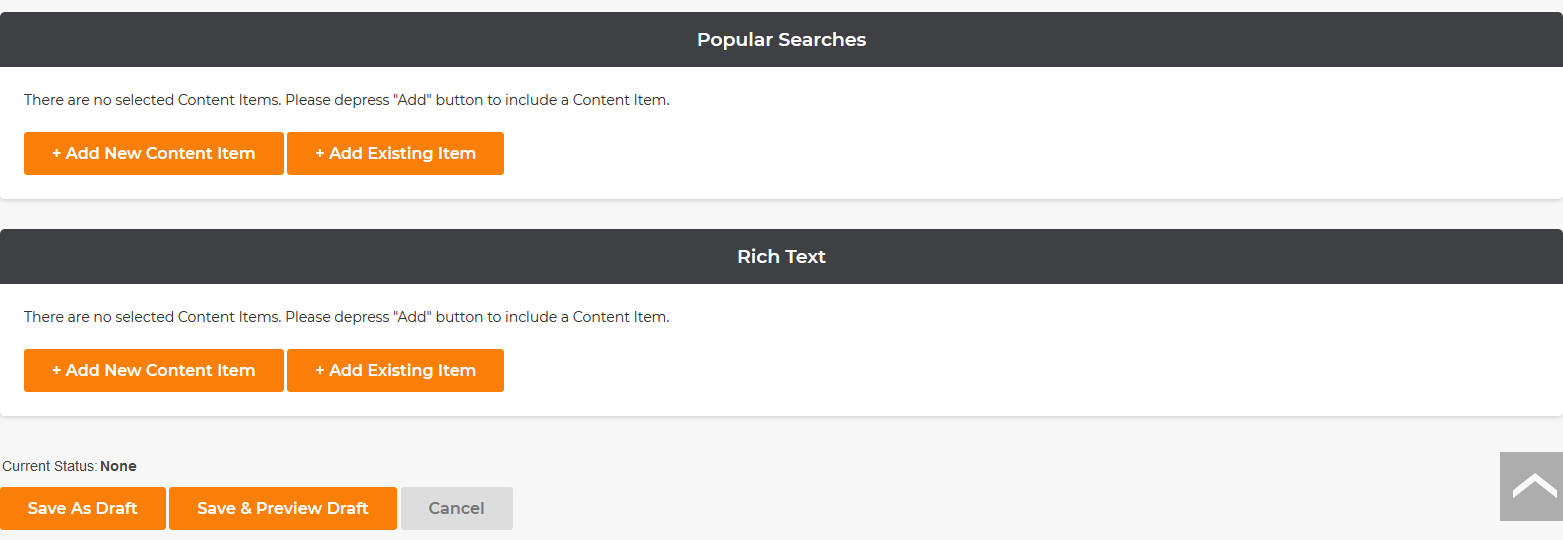
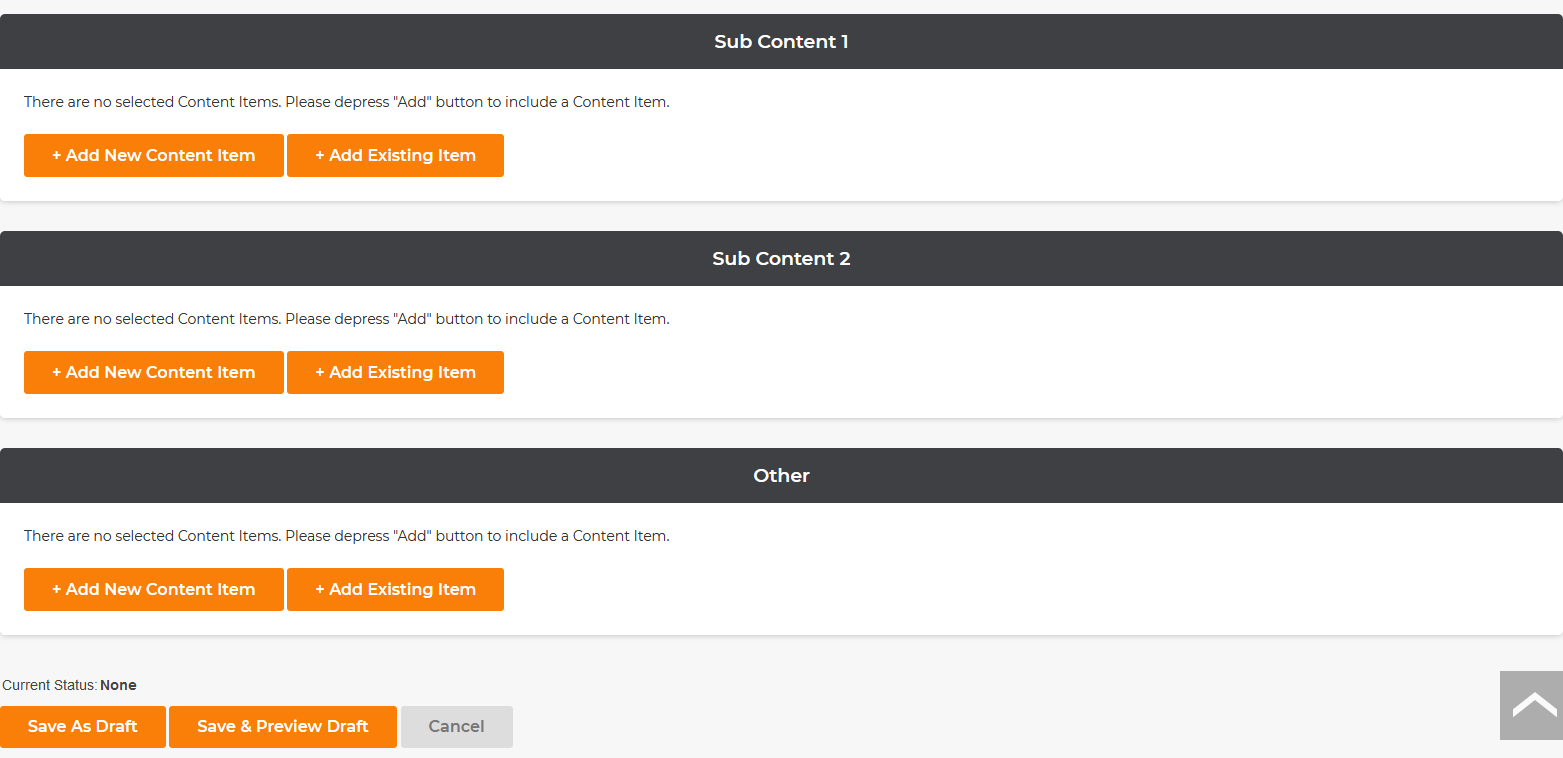
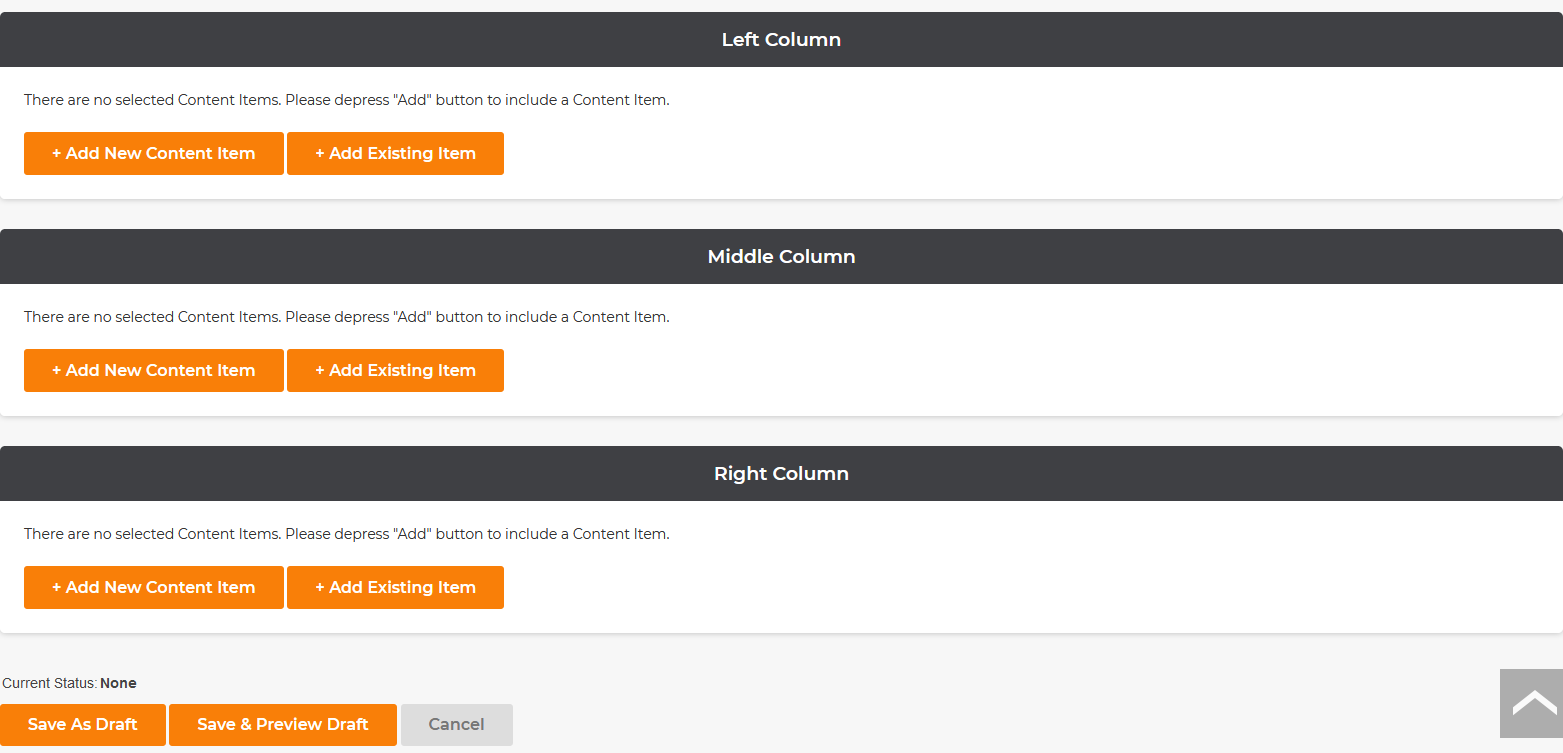
Add New Content Item
General Tab
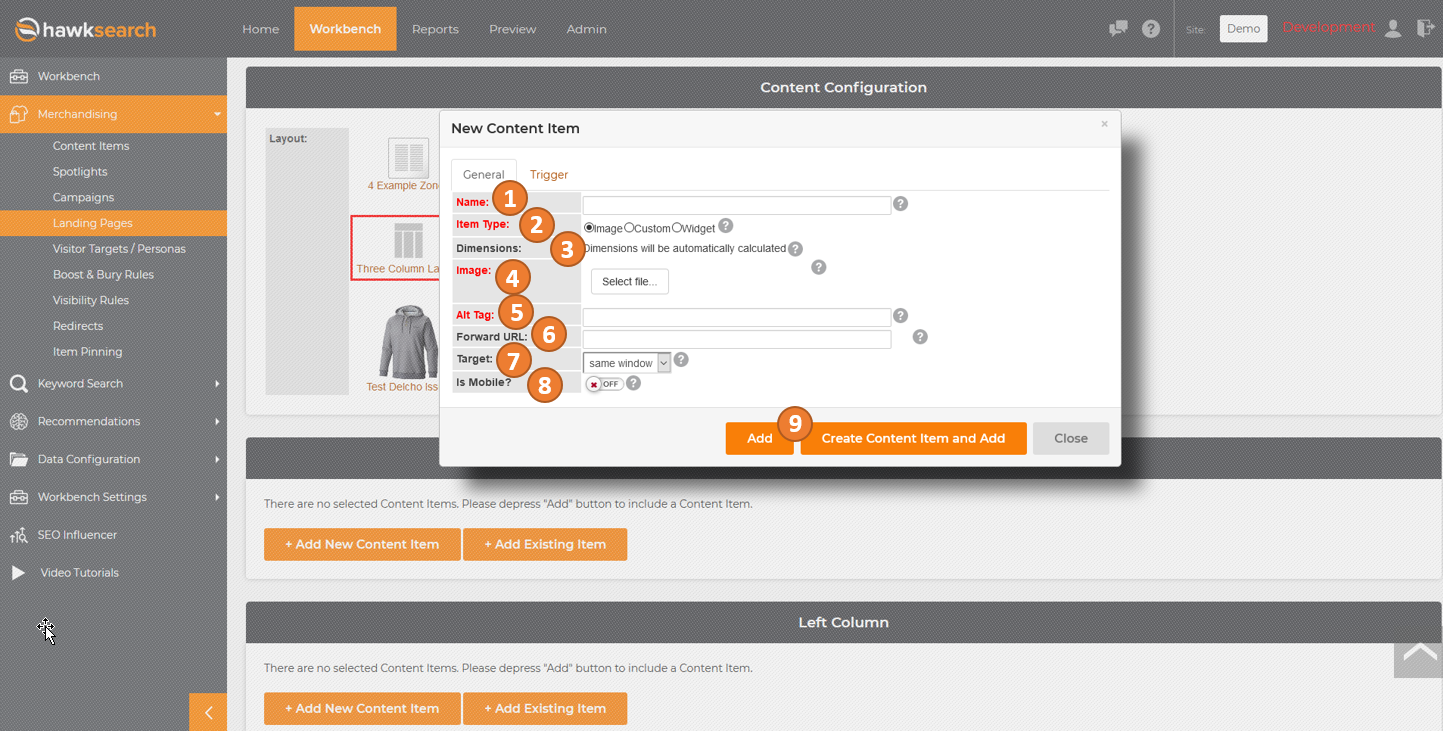
Select the "+Add New Content Item" button to create a new item for your layout.
-
First, add the name of the item in the "Name" field.
-
Next, select whether the new item will include a new image, a custom file or a widget. The majority of items will use the "Image" option.
-
When you select the "Image" option, the dimensions will default to the dimensions used in the uploaded image. These will appear after the file has been uploaded.
-
In order to select an image from your hard drive, click the "Select file..." link to trigger your computer's file manager (see example below). Select your file.
-
Add the alt tag that you would like to have appear when someone mouses over the image. This is text that a search engine can detect, so you may want to include any text that appears in your image in the alt tag.
-
If you would like the item to navigate to a specific page, you can include the forwarding address in this field.
-
The target field is only needed if you add a Forward URL. It allows you to choose whether the forward URL should open in the same window, or if it should open up in a new window.
-
Next, determine whether this item will be "Mobile" by using the toggle.
-
Content can be created within the Content section of the Workbench. Content can also be created when editing or adding a Content Landing Page. To save the content created within a landing page in the content repository choose "Create Content Item and Add". To simply add it to the page and not save it in the repository, choose "Add".
Trigger Tab
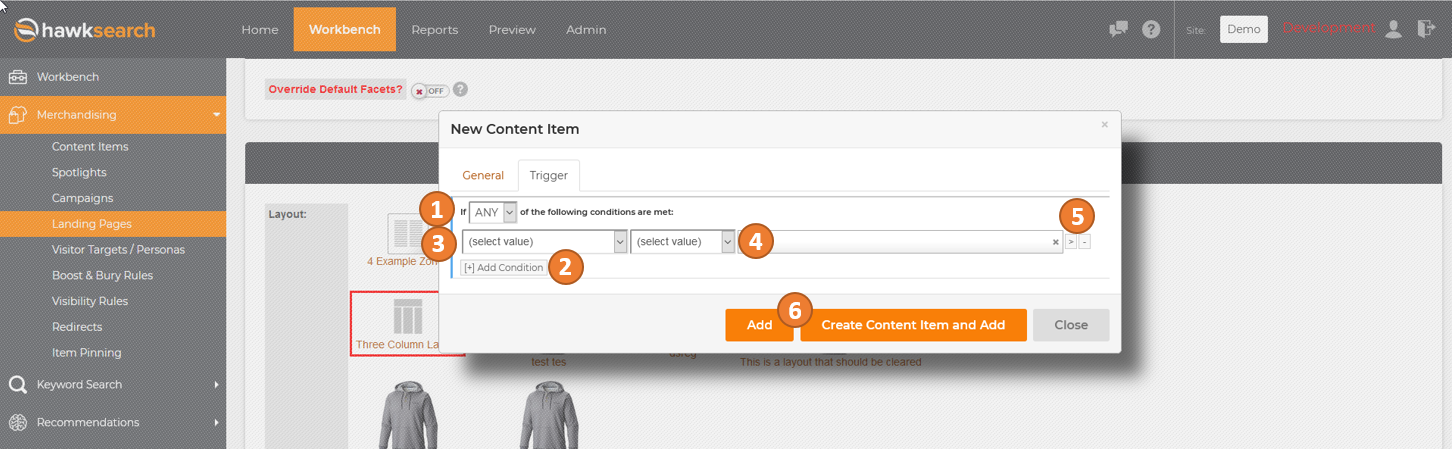
When setting up an item to display, a trigger can be used to determine the conditions for which piece of content will display. This tool allows you to create complex and nuanced conditions, if needed. You can set up several conditions with sub-conditions using the tools below. The detail of specification is entirely up to you.
-
To set up triggers, determine if you want "ALL" conditions to be met in order for the banner to display, or if it is enough that "ANY" one of the conditions be met. Select your choice from the drop-down.
-
To add a new condition, click on "[+] Add Condition".
-
In order to define the condition, you can start with any of the attributes that are stated in your data feed. After you select a condition, you will be prompted to select an operator. These options change based on the condition that you select. Choose the one that most closely matches what you would like to do.
-
Fill in the value that applies to the condition. As you type, autocomplete will offer suggestions to complete the condition. Select the appropriate one.
-
To add additional sub-conditions to your first rule (such as another keyword), click the arrow located to the right of the condition fields. You may delete conditions or sub-conditions by clicking the minus sign to the right of the conditions. To add an additional, independent condition, click the "[+]Add Condition" button reference in step 2.
-
Content can be created within the Content section of the Workbench. Content can also be created when editing or adding a Content Landing Page. To save the content created within a landing page in the content repository choose "Create Content Item and Add". To simply add it to the page and not save it in the repository, choose "Add".
Add Existing Content Item
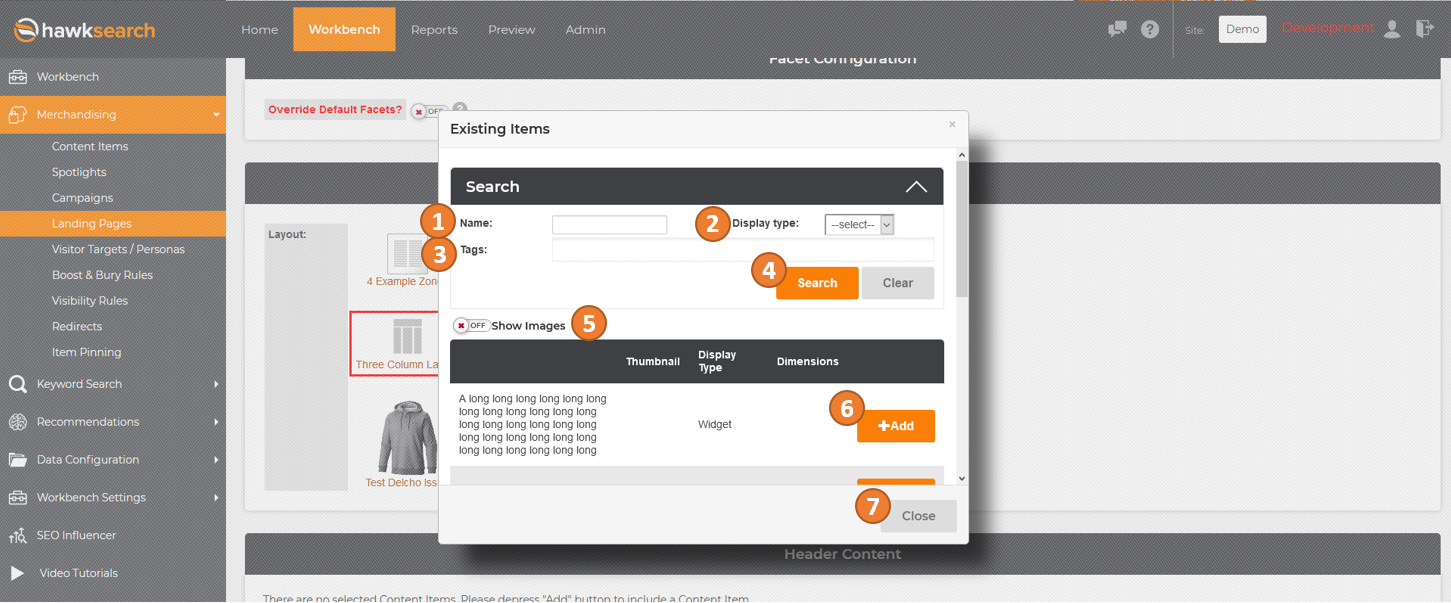
To add an existing content item, you can scroll through the displayed list or search for it within the list.
-
To search for an existing content item by name, enter the name into the "Name" field.
-
To search for an existing content item by the display type, choose the display type from the dropdown box. You can choose from "Custom", "Featured", "Image" or "Widget".
-
To search using previously entered tags, enter them in the "Tags" text box.
-
Once you have entered your preferred parameters, hit the "Search" button to display your search results.
-
To show images in your item list, move the slider to "ON".
-
Once you have found the existing content item that you would like to add, select the "+Add" button next to it.
-
After you have added all of the items you need, select "Close" to return to the main screen.
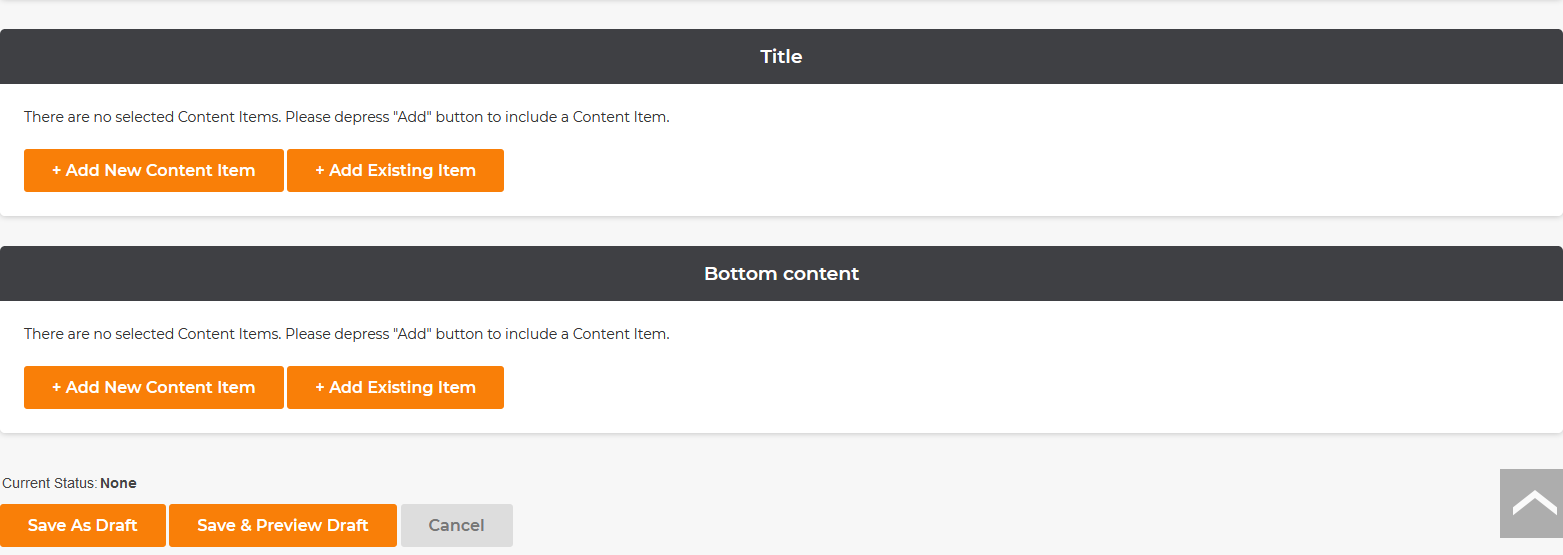
Save and Confirm the addition of a Content Landing Page
-
Once you have all the changes for your Content Landing Page, you will now need to save the Landing Page.
-
Additionally, if you would like to view the Landing Page, press the “Save and Preview” button.
-
If you would like not save any changes made, press “Cancel”.
-
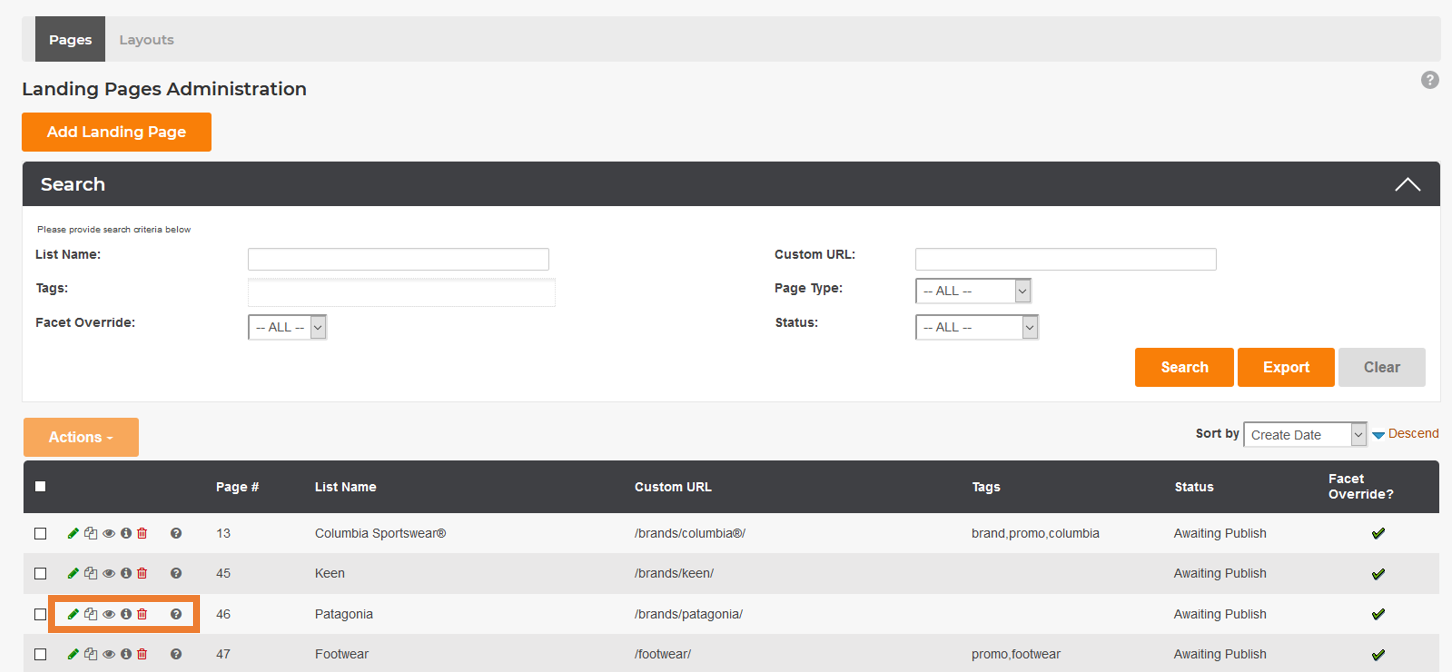
On the Landing Pages Administration Page, you can now view your newly created or updated Landing Page. Mousing over the "Eye" icon will let you view your Landing Page. Mousing over the “Information” icon will display rule/s for the items to display. Mousing over the "?" icon will display the date the rule was created and when it was last modified.