

How do I set the default date range
Setting a default custom date range is easy. Follow these steps to ensure your preferred date range is set as the default across the workbench.
Instructions
-
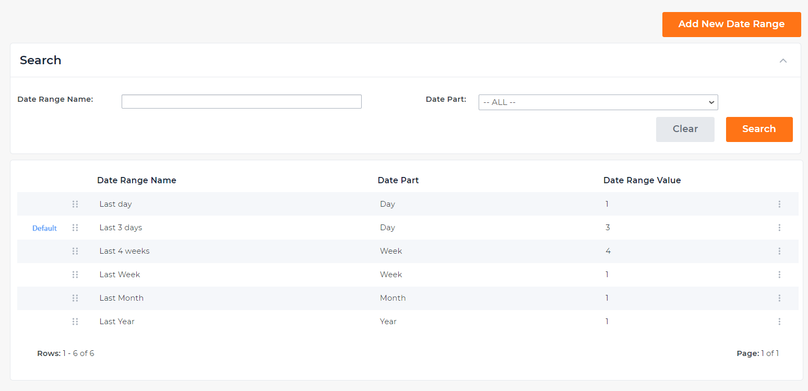
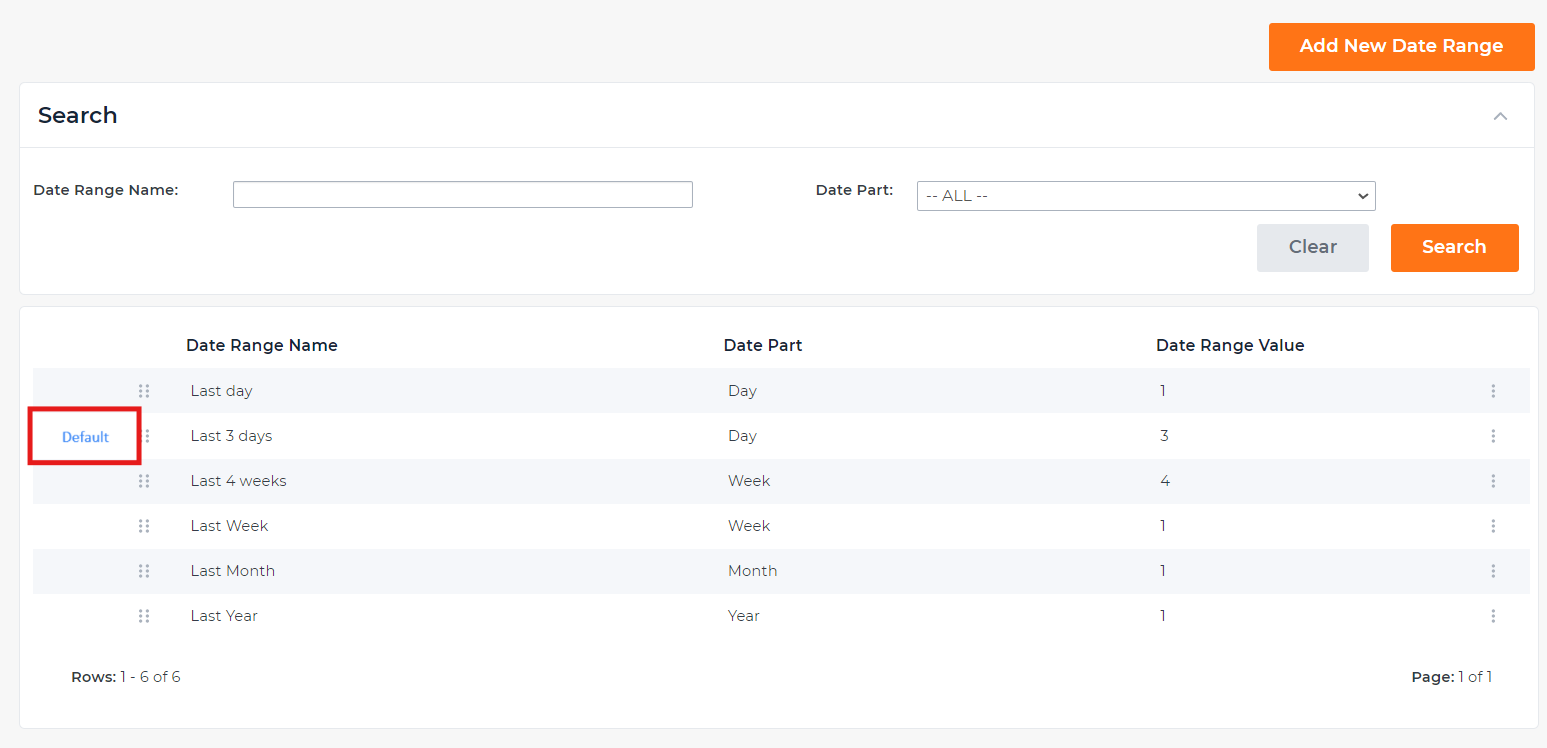
Please navigate to Admin > Custom Date Ranges, and you should see the following screen
-
Please find the row of the date range you want to set as the default then click on the Dots Menu icon at the end of this row.
-
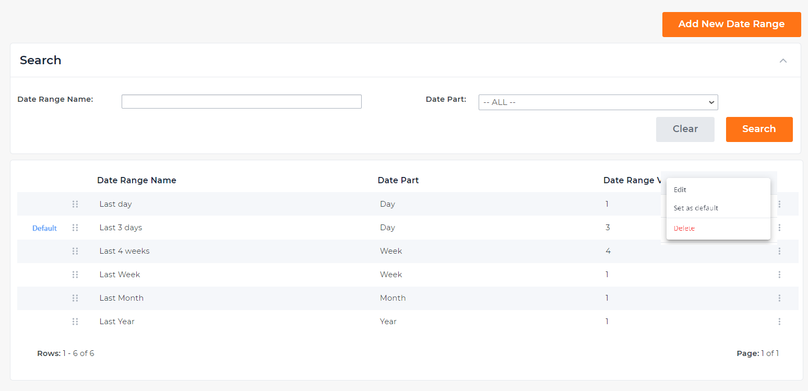
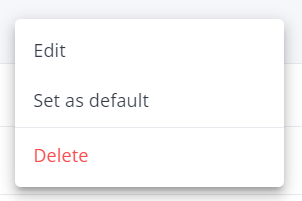
In the menu that appears, please click on “Set as default“, then the date range will be set as default across the workbench. The default date range will be labeled with a blue tag.
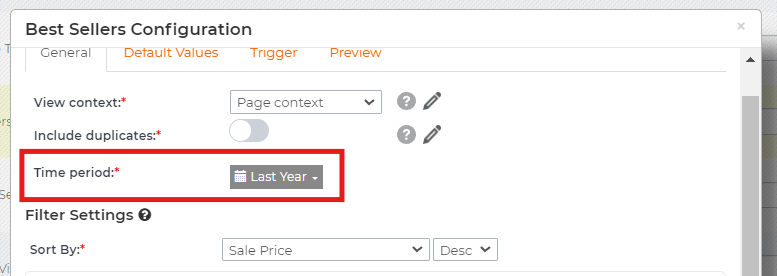
- The newly set Default Date Range will now automatically display as the default wherever applicable across the workbench.